Python開発環境 macOS
概要
macOSで Pythonプログラムの開発・実行をするために、Python実行環境とPython開発環境をインストール・セットアップする必要があります。Python実行環境は、Pythonプログラムの実行、Pythonライブラリのインストールなどを行う機能を有した環境です。Python開発環境は、Pythonのプログラミング・実行・デバッグなどをサポートする環境です。
Python実行環境
macOS 11まではPython実行環境が標準搭載されていました。しかし macOS 12以降は、Python実行環境が標準搭載されなくなりました。そこで、何らかの方法で Python実行環境をインストールする必要があります。
- Command Line Tools for Xcode をインストールする
- Homebrew を入れて、Homebrew管理下のpythonをインストールする
- Python公式サイトからmacOS用のpython実行環境のインストーラーをダウンロードしてインストールする
- mise(ミーズ)を入れて、mise管理下のpythonをインストールする
どれが良いかについては一概には言えませんが、開発用途では、任意のバージョンのPythonを入れる、複数のバージョンを併用する、などが必要になるので、Homebrewを用いでPython実行環境をインストール・管理するのが楽です。
Command Line Tools for Xcode
コマンドライン開発ツール(Command Line Tools for Xcode)を追加インストールすることで Python が利用可能となります。
| OSバージョン | OS標準 | Ptyhon Version | Path |
|---|---|---|---|
| macOS 12.5.1 | No, 別途コマンドライン開発者ツールに含まれる | 3.8.9 | /usr/bin/python3 |
| macOS 13.4.1 | 3.9.6 | /usr/bin/python3 | |
| macOS 15.3.2 | |||
| macOS 26.1 |
任意の Pythonバージョンを入れたり、複数のPythonバージョンを並行して使用することが難しいです。
Homebrew
HomeBrewでPythonをインストールすることが可能です。
HomeBrewでは、python3.7〜3.12(2024-01-14時点)が提供されています。
マイナーバージョンのアップデート、新しいバージョンのインストール(併用)が簡単に実施できます。
Homebrewでインストールしたpythonは次のパスに置かれます。
- /opt/homebrew/bin/python3.x (xはインストールしたバージョンにより異なる)
- /opt/homebrew/bin/python3 (インストールしたPython 3.x のうち最新バージョンへのリンク)
tkinter
Homebrewでインストールした python には、tkinter が含まれていないので、tkinterを使用するときは python-tk@<バージョン> を合わせてインストールします。
Python公式サイトのインストーラ
Python公式サイトのmacOS用インストーラ配布サイトから必要なバージョンのインストーラをダウンロードしてインストールします。
https://www.python.org/downloads/mac-osx/
マイナーバージョンアップを使用するには、インストーラーをダウンロードしてインストールし直すことになります。
HomeBrewでPython
HomeBrewでPythonが提供されています。
brew でpythonを探す
pythonをbrew searchで検索します。2025.4時点で、python 3.8〜3.13が提供されています。
% brew search /^python@/
==> Formulae
python@3.10      python@3.11      python@3.12      python@3.13 ✔      python@3.8       python@3.9
%
インストールは、brew install pythonで最新版のpython@3.13がインストールできます。
(上述のsearchは既にpython 3.13がインストールされた後の実施例で、インストールされたパッケージ名に✔︎がついています)
バージョンを明示的に指定してインストールする場合は、 brew install ptyhon@3.8 のように指定します。既存のpythonとは別なディレクトリにインストールされます。
pythonの実行
HomeBrewでインストールされたpythonは、コマンドが /opt/homebrew/bin の下に、python3.10 や python3.12 とバージョン付きのファイル名で置かれます。
% python3.12 -VV
Python 3.12.1 (main, Dec  8 2023, 18:57:37) [Clang 14.0.3 (clang-1403.0.22.14.1)]
%
- 注)環境変数PATHの設定で、/opt/homebrew/bin よりも /usr/bin が優先されている場合、python3 とコマンドを実行すると、/usr/bin/python3 コマンドが実行されます。これは、Command Line Tools for Xcode のインストールで入れられたコマンドで、macOS 13時点では 3.9.6のバージョンです。
pythonの切り替え
複数バージョンのPythonをbrewでインストールした場合、明示的にバージョンを指定しないと通常では最新バージョンが選択されます。
tkinterを使う
HomeBrewでインストールするPython3には、tkinterが含まれていません。HomeBrewではpython3とは別にpython-tkが提供されているので、併せてインストールします。
% brew install python-tk
仮想環境
venv
PythonをOS共通の領域にインストールし、そこに色々なアプリケーションでそれぞれ個別に必要とするパッケージを共通領域にインストールすると色々な干渉が生じます。
そこで、Pythonの標準機能 venv を使って、アプリケーション毎に固有のpython実行環境を「仮想環境」として用意します。venvは、実行するPythonのバージョンとインストールするパッケージをプロジェクト(ディレクトリ)固有にする機能を提供します。
使用例
venv作成
helloディレクトリを作成し、そこに Hello worldプログラムとvenv仮想実行環境を用意します。
work% mkdir hello
work% cd hello
hello% python3.10 -m venv venv
hello% % ls -F venv
bin/        include/    lib/        pyvenv.cfg
- -m venv でvenvモジュールを実行、最後の引数のvenvは作成するディレクトリ名です。(たまたま同じvenvとしているだけです)
- venvを作成したpythonバージョンがデフォルトのバージョンとして使用されます。
- venv/bin/python, venv/bin/python3, venv/bin/python3.10 が、シンボリックリンクで生成され、venv作成時のpythonコマンドを指しています。
- 環境変数PATHの先頭に、venv/binの絶対パスが追加されます。
- venv/lib の下に、pipでインストールしたライブラリが入りいます。その際にpythonバージョンのディレクトリが作られその下にインストールされます。
venv/lib/python3.10/site-packages/の下にライブラリがインストール
仮想環境の実行
hello% source venv/bin/activate
(venv) hello % python --version
Python 3.10.6
activateすると、Pythonのバージョンがvenv作成時に設定したものが使われます。
仮想環境に、外部ライブラリのインストール
(venv) hello % pip install matplotlib
仮想環境にインストールした外部ライブラリの一覧を表示
(venv) hello % pip list
Package         Version
--------------- -------
cycler          0.11.0
fonttools       4.37.1
kiwisolver      1.4.4
matplotlib      3.5.3
numpy           1.23.3
packaging       21.3
Pillow          9.2.0
pip             22.2.2
pyparsing       3.0.9
python-dateutil 2.8.2
setuptools      63.4.3
six             1.16.0
(venv) hello %
venvディレクトリの下を覗いてみると、外部ライブラリが保管されているのがわかります。
(venv) hello % ls venv/lib/python3.10/site-packages
PIL                    numpy
Pillow-9.2.0.dist-info            numpy-1.23.3.dist-info
__pycache__                packaging
_distutils_hack                packaging-21.3.dist-info
cycler-0.11.0.dist-info            pip
cycler.py                pip-22.2.2.dist-info
dateutil                pkg_resources
distutils-precedence.pth        pylab.py
fontTools                pyparsing
fonttools-4.37.1.dist-info        pyparsing-3.0.9.dist-info
kiwisolver                python_dateutil-2.8.2.dist-info
kiwisolver-1.4.4.dist-info        setuptools
matplotlib                setuptools-63.4.3.dist-info
matplotlib-3.5.3-py3.10-nspkg.pth    six-1.16.0.dist-info
matplotlib-3.5.3.dist-info        six.py
mpl_toolkits
後日、venvで使用するPythonのバージョンを変更すると、このパッケージ群も変更が必要となります。(ちょっと面倒)
プログラムの記述
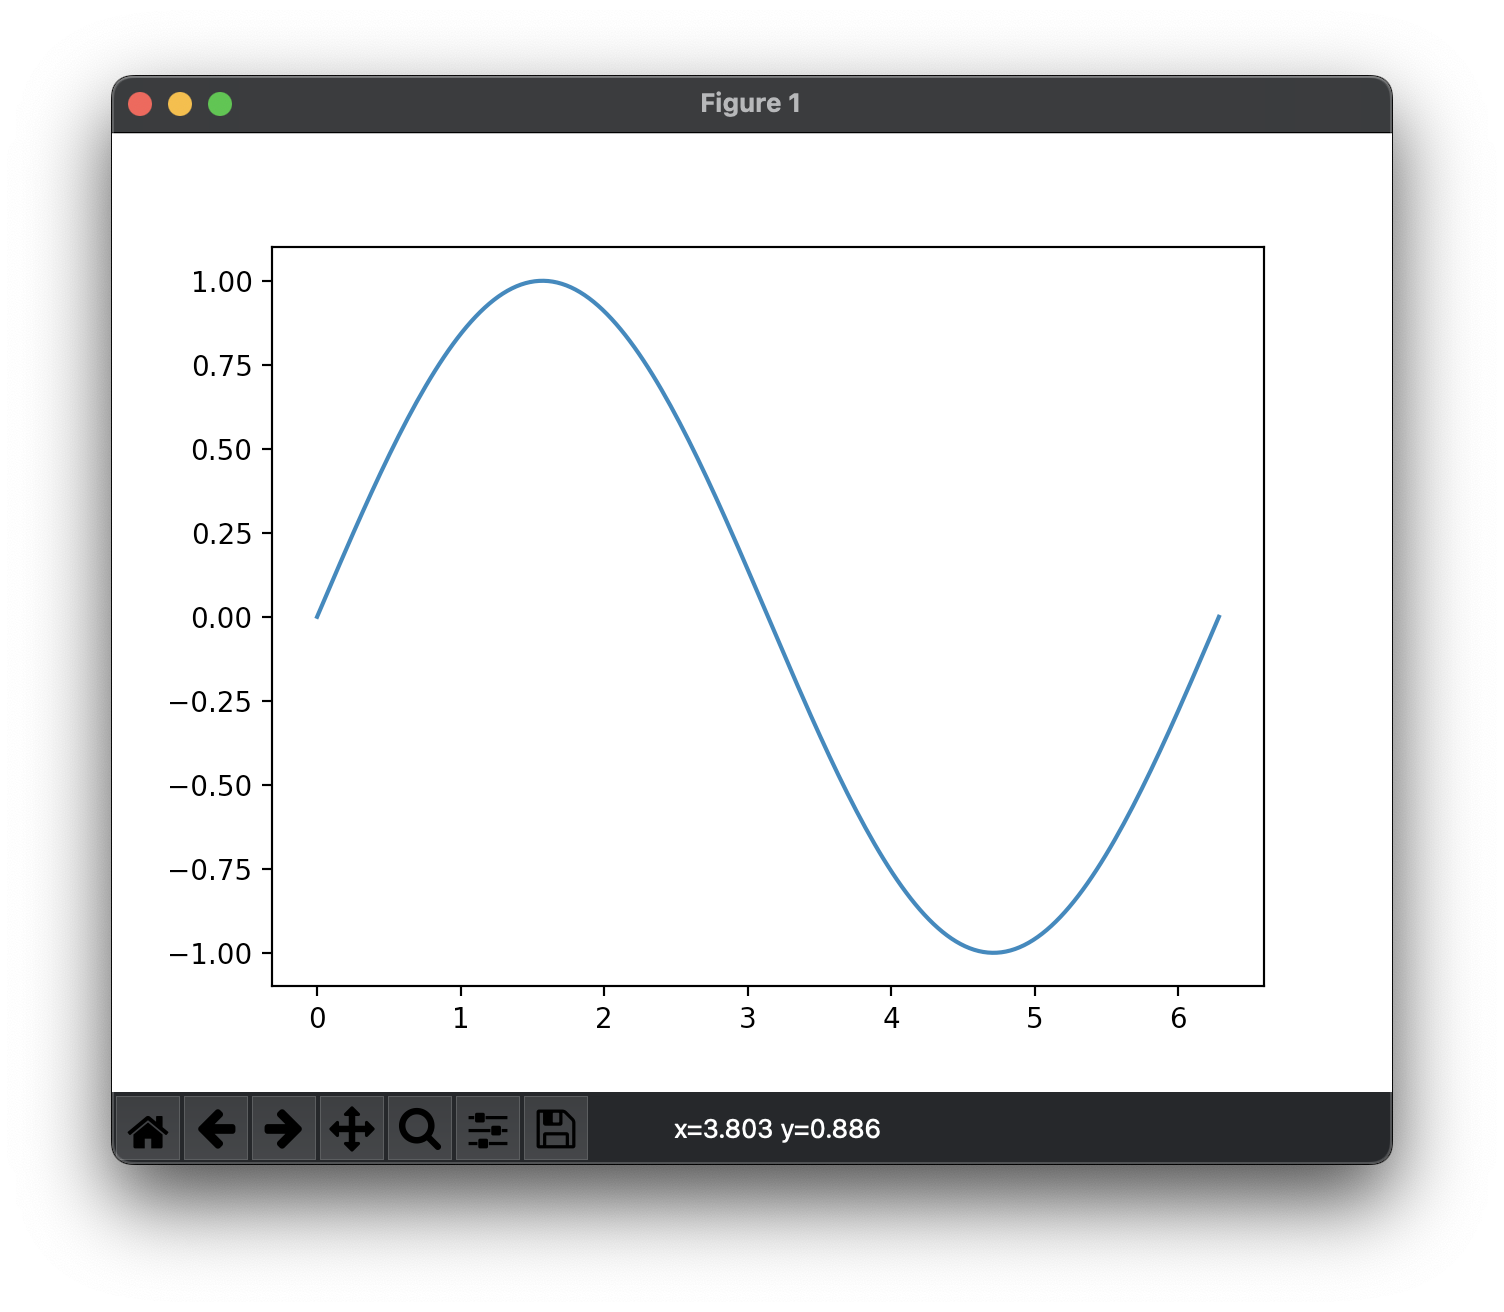
matlibplotのサンプルコードを記述します。
https://matplotlib.org/stable/users/getting_started/
import matplotlib.pyplot as plt
import numpy as np

x = np.linspace(0, 2 * np.pi, 200)  # 0以上 2π以下の範囲で等間隔の200個の値を numpyのndarray として生成
y = np.sin(x)

fig, ax = plt.subplots()  # Figure(描画領域)と Axes(グラフ)を同時に生成、ここはAxesが1個
ax.plot(x, y)
plt.show()
実行
(venv) hello % python hello_plot.py

仮想環境の利用終了
deactivateを実行すると、仮想環境を終了します。
(venv) hello % deactivate
hello %
Pythonバージョンの変更
venvを作成後、新しいバージョンに移行したい時は、venvのupgradeオプションを使用するか、一度 venvディレクトリを削除してから再度作り直すかの方法があります。
upgrade
python3 -m venv venv --upgrade
python3を実行したバージョンでvenvのpythonバージョン情報を更新します。
ただし、パッケージのインストールディレクトリは更新されないので、外部パッケージを使用している場合、再度パッケージを入れ直す必要があります。(mac/Linux系は、パッケージがvenv/lib/python3.10.1/site-packages/下にインストールされ、Pythonバージョンが変更されるとこのディレクトリも変更する必要があるため)
手順を組むとしたら
(venv) hello % pip freeze > requirements.txt
(venv) hello % deactivate
hello % python3.12 -v venv venv --upgrade
hello % . venv/bin/activate
(venv) hello % pip install -r requirements.txt
となります。結構面倒です。
一度削除してから再作成
(venv) hello % pip freeze > requirements.txt
(venv) hello % deactivate
hello % rm -r venv
hello % python3.12 -v venv venv
hello % . venv/bin/activate
(venv) hello % pip install -r requirements.txt
問題解決
python3 のパスに注意
/opt/homebrew/bin/python3 がなくなったので、python3を実行すると、/usr/bin/python3 が実行されます。
MacOS: Ventura 13.4.1
Homebrewで、python@3.10, python@3.12 をインストールしていますが、python3コマンドを実行すると、バージョンが何故か3.9.6と表示されます。
% python3 --version
Python 3.9.6
% which python3
/usr/bin/python3
- PATHは、先頭に/opt/homebrew/bin が設定済
hello % echo $PATH
/opt/homebrew/bin:/opt/homebrew/sbin:/usr/local/bin:/System/Cryptexes/App/usr/bin:/usr/bin <後略>
- /opt/homebrew/bin の下のpythonコマンド
% ls /opt/homebrew/bin/|grep python
python3.10
python3.10-config
python3.12
python3.12-config
% python3.12 --version
Python 3.12.1
MacOS 12以降はpythonが標準では提供されていないのですが、Command Line Tools for Xcodeをインストールすることでpython3がインストールされます。
Homebrew経由でインストールしたPythonは、/opt/homebrew/binの下にバージョン2桁まで含むファイル名でインストールされるので、これを実行するには、マイナーバージョン(2桁)まで指定したコマンドを実行します。